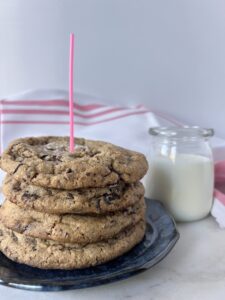
My (almost) Perfect Chocolate Chip Cookie
Large Bakery-Style Chocolate Chip Cookies with Dark Chocolate
Dear Mya and Devin,
I’ll probably spend my whole life chasing the perfect chocolate chip cookie, and I’m not convinced it actually exists.
I know what it isn’t. It’s not the towering, doughy cookies from Levain Bakery. It’s not the oversized, melt-on-contact creations from Crumbl. What I keep coming back to is the question you’ve heard me ask out loud more times than I can count: what is the best part of a chocolate chip cookie? The gooey, buttery center? The crisp, golden edges? Or those uneven pockets of melted chocolate that reward you for paying attention?
I’ve eaten plenty of good (even great) chocolate chip cookies. But will I ever find the one? Probably not. And much like Hamilton and Angelica, when it comes to chocolate chip cookies, I fear I will never be satisfied.
Still, this is the chocolate chip cookie I come back to, the one you’ve both come to know and love.
Where did this recipe come from?
When you were little, when I was a brand-new mom measuring time in feedings and nap windows, I was desperate for something that felt like mine. Cooking had always grounded me, but during those early, blurry months, I became obsessed with mastering a single thing: a homemade chocolate chip cookie that felt worth the effort.
Fueled by sleepless nights, nursing sessions, and an embarrassing amount of Friends reruns (yes, I can quote the entire “Nestlé Toulouse” scene), I decided to pull a Monica. I baked my way through nearly every chocolate chip cookie recipe I could find, handing out batches to friends and family and asking for feedback like a slightly unhinged chocolate chip cookie scientist.
After countless trials (and a lot of taste-testing) I landed on Jacques Torres’ recipe as my reference point. It was deliberate, technical, and just fussy enough to reward care. Over time, I adapted it to suit how I actually cook.
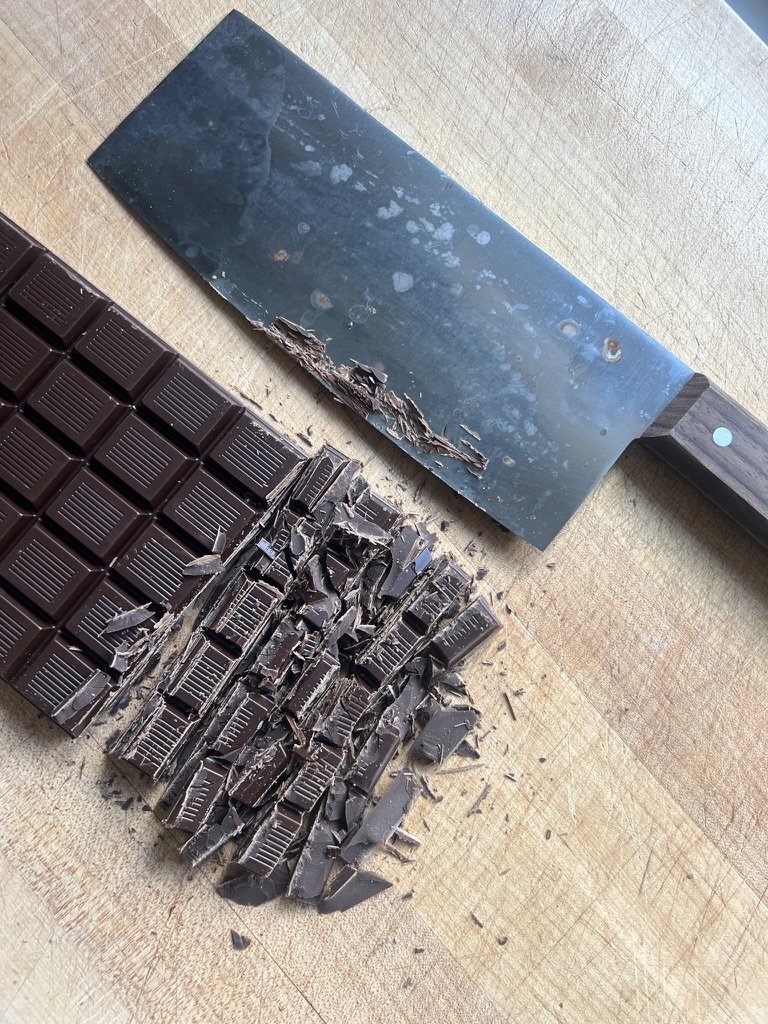
I replaced the cake-and-bread flour combination with a single, high-quality all-purpose flour. Instead of chilling the dough as one large mass, I scoop it while it’s soft and let it rest for two days so the flour can fully hydrate. And my favorite change of all: chopping dark chocolate bars instead of using standard chocolate chips.
Those uneven shards, some large, some small, some barely crumbs, create everything from delicate ribbons of chocolate woven through the dough to generous puddles of melted chocolate that spill when the cookie breaks.
Somewhere along the way, I also learned that size matters more than people realize. Large cookies bake differently. When you give the dough enough mass, the heat has time to work in layers: the edges spread and caramelize into something crisp and lacy, the center stays soft and almost fudgy, and in between there’s that ring I’m always chasing: chewy, slightly toffee-like, deeply browned. Smaller cookies rush this process. Bigger ones let it unfold. This recipe is built around that understanding, not excess for its own sake, but structure: how heat, sugar, and time behave when you let them.
Eighteen years later, this is still the cookie I measure all others against. Not because it’s perfect, but because it reflects how I cook now: attentive, opinionated, and willing to wait when it matters.
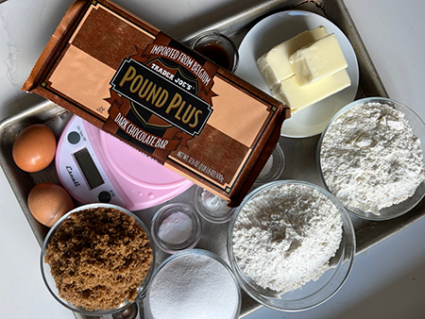
Ingredients for Large Bakery-Style Chocolate Chip Cookies
All-Purpose Flour
The original recipe calls for a mix of cake and bread flour, but after testing, I found that a high-quality all-purpose flour (I use King Arthur) works beautifully. Cake flour creates a tender crumb, bread flour adds chew, and all-purpose balances both without extra fuss. I love that it simplifies the recipe while keeping the texture just right.
Baking Soda & Baking Powder
Baking soda helps the cookies spread and brown, giving those crisp, golden edges. Baking powder reacts with the liquid ingredients to create tiny air pockets, keeping the centers soft and light. Together, they’re a small but powerful team that gives the cookie its signature rise.
Coarse Kosher Salt
I use Diamond Crystal for its coarse, irregular crystals—they dissolve evenly and enhance every flavor. Salt isn’t just seasoning here; it elevates the sweetness, the chocolate, and every nuance in between.
Butter
Unsalted butter is key. It provides richness, structure, and flavor, but the magic is in the texture—it should be soft, not melty, so it dissolves the sugar properly and traps just enough air for the perfect bite.
Brown & Granulated Sugar
Sugar does so much more than sweeten. It creates moisture, texture, and those beautifully caramelized edges we all crave. Brown sugar adds depth and a slight molasses note; granulated sugar helps crisp the edges.
Eggs
Eggs bind everything together and add richness. I always use room-temperature eggs so the dough mixes evenly and the cookies stay tender.
Vanilla Extract
A little vanilla goes a long way. It amplifies every flavor, bringing warmth and aromatic depth to the cookie.
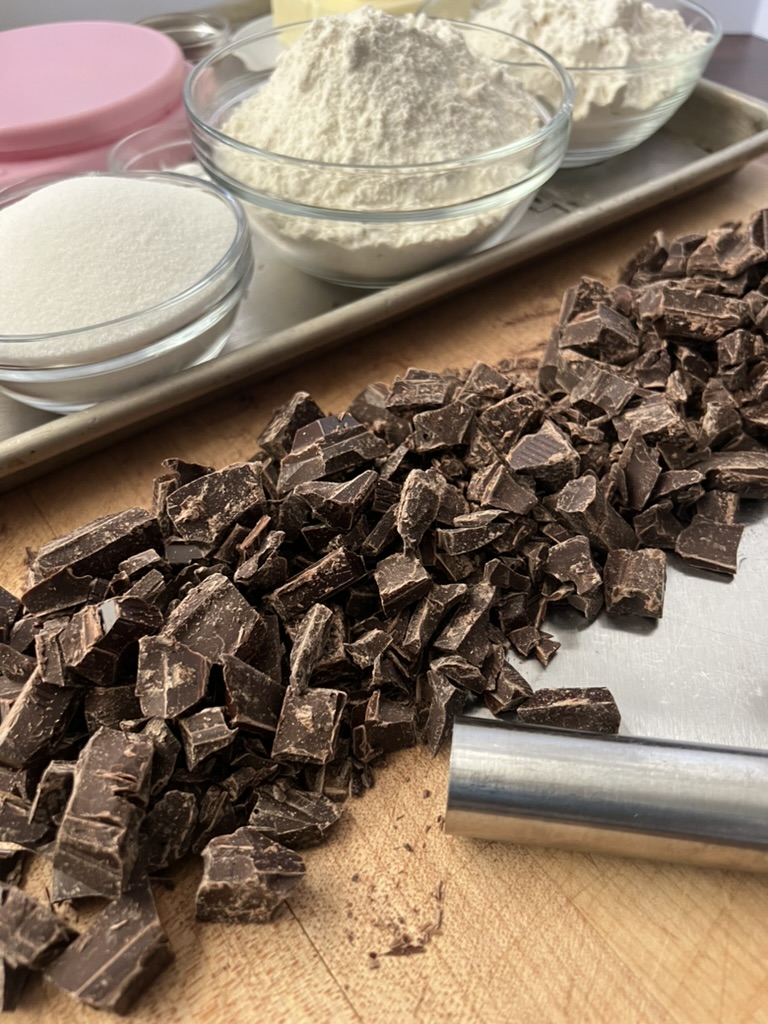
Chocolate Shards
I swear by Trader Joe’s Pound Plus dark chocolate bars. Chopping them into uneven pieces creates everything from delicate ribbons of chocolate woven through the dough to glorious molten puddles in each bite. Don’t throw away the crumbs—they’re magic.
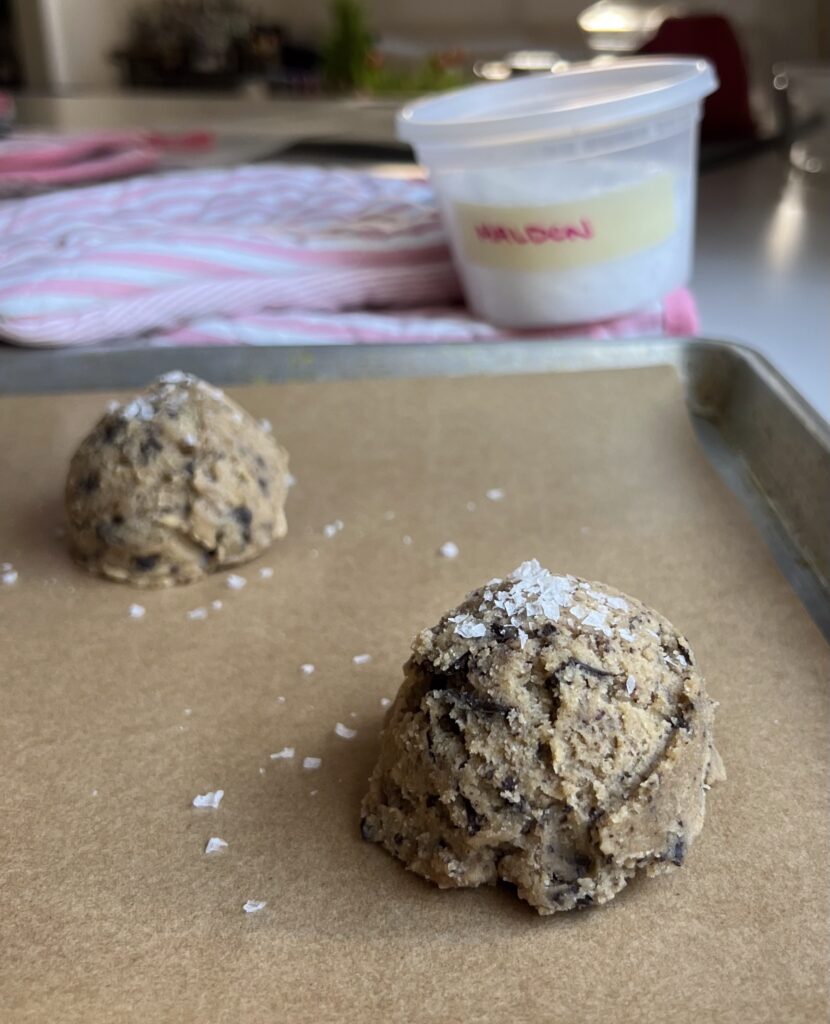
Flaky Salt
This one’s non-negotiable. Sprinkle a pinch of flaky salt like Maldon or Fleur de Sel on top before baking. It transforms every bite, highlighting the chocolate and balancing the sweetness in a way that’s irresistible.
Tools You’ll Need
Stand Mixer or Hand Mixer
Creaming butter and sugar thoroughly is key. A stand mixer makes it easier, but a hand mixer, or a bit of elbow grease, works just fine. This is where texture starts to build, and patience pays off.
Baking Sheets
Sturdy half-sheet pans are best—they ensure even heat distribution so your cookies bake uniformly. Thin, flimsy pans can warp or brown unevenly.
Parchment Paper
Precut sheets are worth it. They fit perfectly, lie flat, and save you the frustration of jagged edges or curling parchment.
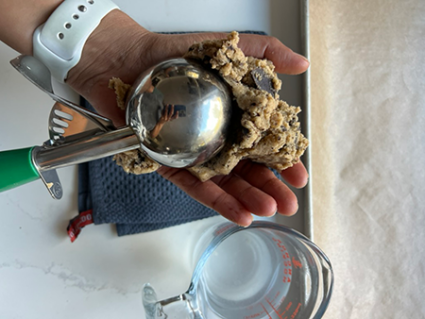
Cookie Scoop
These cookies are meant to be large—about ⅓ cup (3 ounces) each. A #12 scoop helps create uniform size, even baking, and that magical gradient of textures: crisp edges, soft centers, and the slightly chewy ring in between.
Wire Rack
Cooling fully is part of the process. Air circulation underneath allows the cookies to set properly, crisping the edges while keeping the centers tender.

How to Make These Chocolate Chip Cookies
Mix the Dry Ingredients
Sift or whisk together flour, baking soda, baking powder, and salt.
Cream the Butter & Sugar
Beat on high until pale, light, and fluffy, usually up to five to eight minutes. This step dissolves sugar, incorporates air, and lays the foundation for a cookie that’s tender yet structured. Scrape the bowl as needed.
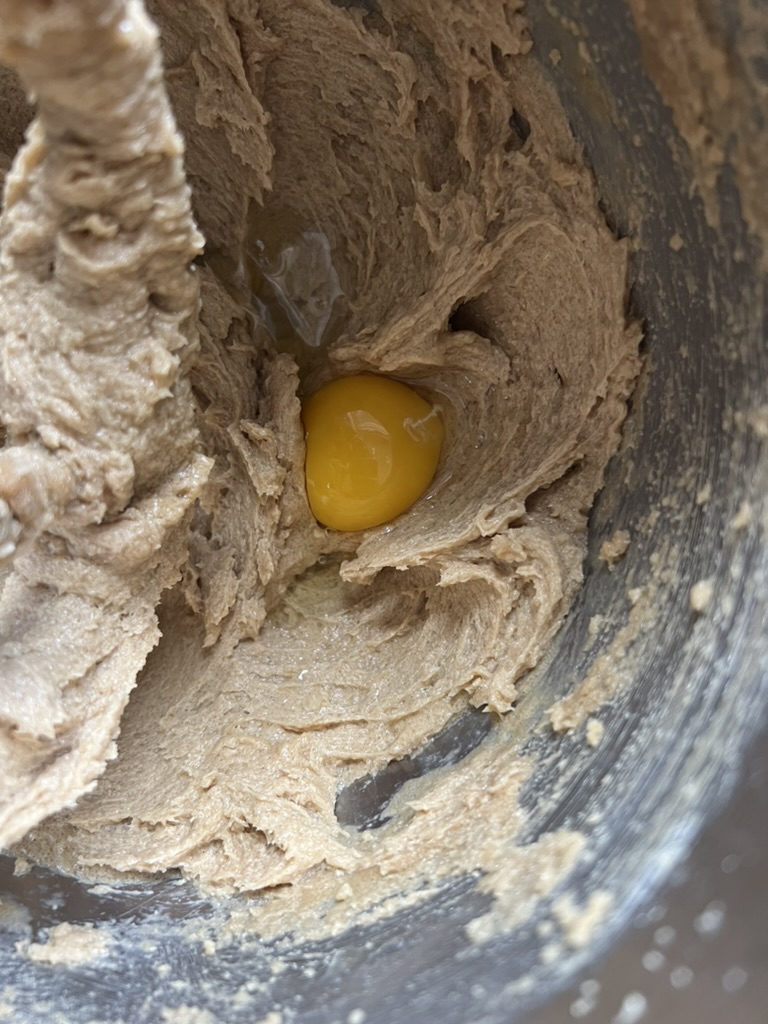
Add the Eggs
Add one at a time on medium speed, mixing fully after each. Overmixing here traps too much air, which can lead to cakier cookies – so slow and stead is the move
Add Vanilla
Mix just until combined. Its aroma fades quickly, so gentle incorporation is all you need.
Add Dry Ingredients
Add everything at once and mix on low until the dough comes together. Stop as soon as you see no dry streaks—overmixing toughens cookies, under-mixing gives uneven texture.
Add Chocolate
Fold in the chopped chocolate gently until distributed.
Scoop
Scoop immediately while the dough is soft. Place close together on a parchment-lined tray.
Rest (24–48 hours)
This is the secret step. Resting allows the flour to fully hydrate, deepens flavor, and develops a richer, more even bake. Your cookies will brown beautifully and taste more complex.
Bake
Six cookies per tray works best. Bake at 350°F for about 18 minutes, until the edges are set and the centers are just puffed. Sprinkle with flaky salt before baking.
Cool
Let the cookies rest on the tray for 10 minutes, then transfer to a wire rack. For full texture and flavor, wait at least 30 minutes before eating—though I understand if you don’t.
Frequently Asked Questions
Can I freeze this chocolate chip cookie dough?
Yes. After the dough has rested for 24–48 hours, freeze the scooped dough balls on a sheet tray, then transfer to a freezer bag. Bake straight from frozen, adding 1–2 minutes to the bake time.
Why do you rest the cookie dough for 48 hours?
Resting allows the moisture from the eggs to fully hydrate the flour, which deepens flavor, improves texture, and promotes more even browning. The result is a richer, more complex chocolate chip cookie.
Can I bake these cookies right away?
You can, but they won’t have the same depth of flavor or texture. If you’re short on time, aim for at least a 12–24 hour rest.
Can I make these cookies smaller?
You can, but the texture will change. These cookies are designed to be large so you get crisp edges, a soft center, and a chewy middle ring. Smaller cookies will bake more evenly throughout.
What chocolate works best for this recipe?
Chopped dark chocolate bars work best because they create varied textures—thin streaks, chunks, and melted pockets. Trader Joe’s Pound Plus dark chocolate is a reliable, affordable option.
Why use all-purpose flour instead of cake and bread flour?
After testing both approaches, high-quality all-purpose flour delivers the same balance of tenderness and chew without the added complexity.